Table of Contents
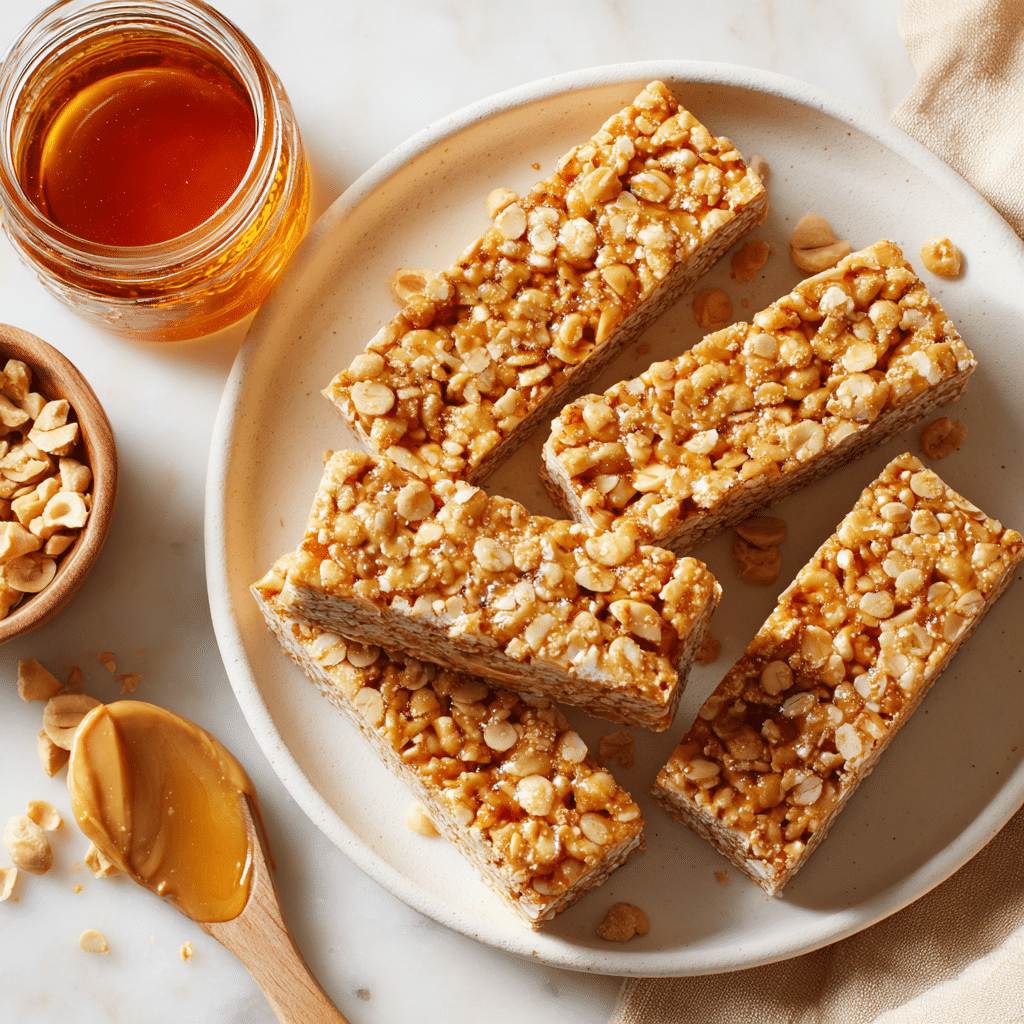
Peanut butter granola bars are one of the easiest snacks to make at home. With just oats, peanut butter, and a natural sweetener, you get chewy, nourishing bars that taste better than store-bought and cost far less.
I grew up with packaged granola bars tucked into lunchboxes. They were quick, but also packed with preservatives and more sugar than I’d like to admit. In my thirties, I discovered how simple it was to bake a fresh batch of peanut butter granola bars in under 20 minutes. That first bite, soft, nutty, slightly sweet, tasted like childhood, only better.
The beauty of homemade bars is flexibility. You can keep them basic with just five ingredients, or you can load them with chocolate chips, dried fruit, seeds, or spices. They can be nut-free, vegan, or high-protein depending on your needs. That adaptability makes them a true pantry staple.
In this guide, you’ll learn:
- The essential ingredients that make peanut butter granola bars hold together.
- Smart substitutions for allergy-friendly or vegan versions.
- Step-by-step tips for baking and slicing clean bars.
- Storage tricks to keep them chewy and fresh for weeks.
Homemade snacks don’t have to be complicated. With the right base, peanut butter granola bars can become the ultimate grab-and-go bite, wholesome, customizable, and always satisfying.
The Story & Why Homemade Peanut Butter Granola Bars Shine
Childhood snacks, reinvented with peanut butter granola bars
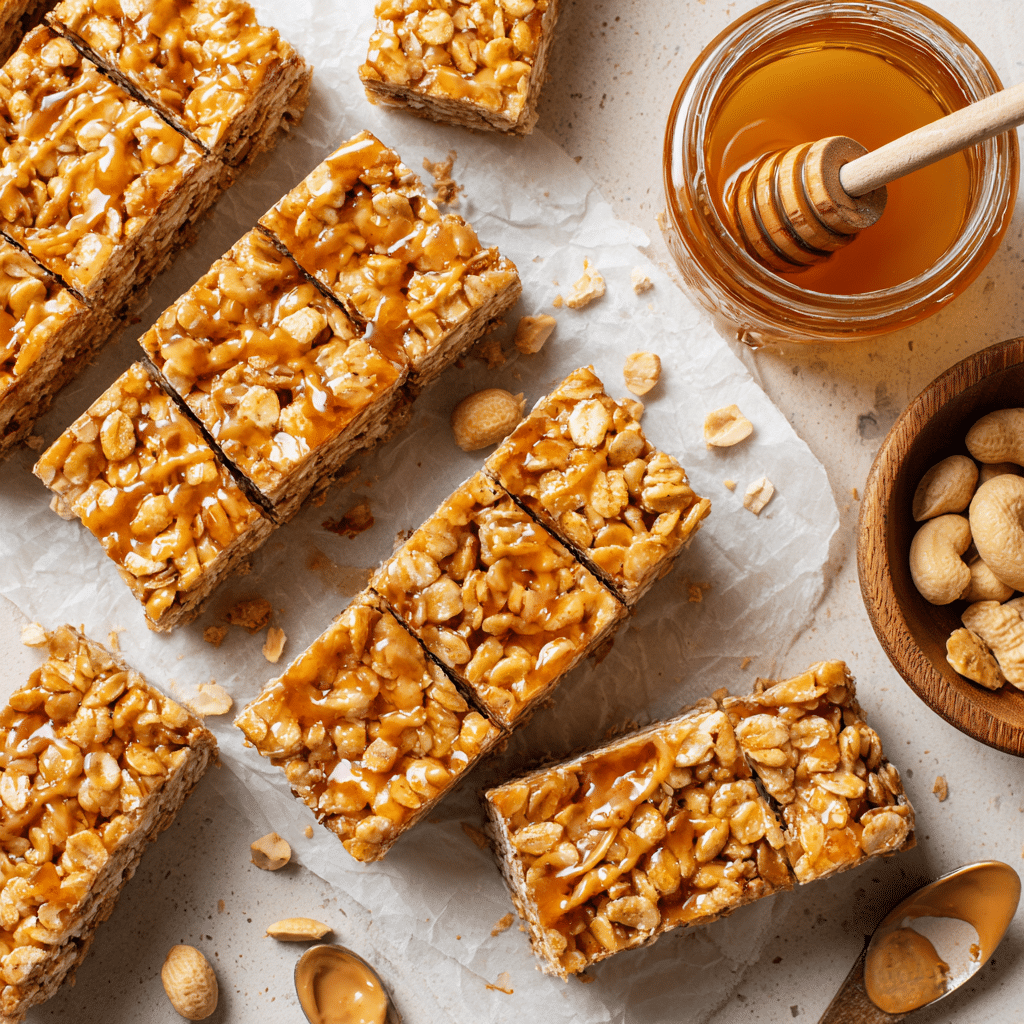
For many of us, granola bars were a lunchbox staple. I remember unwrapping those shiny foil packages, biting into a bar that was more sugar than oats, and feeling like it was a treat. Years later, when I started baking more at home, I realized how much better it feels to pull a pan of homemade peanut butter granola bars from the oven. They taste fresher, they’re more filling, and I know exactly what’s in them.
Peanut butter granola bars bring that balance of sweet and chewy without relying on preservatives. The oats stay hearty, the peanut butter adds richness, and the natural sweetener binds everything together. Each bite feels homemade in the best way, comforting, simple, and nourishing.
Why homemade beats store-bought every time
Store-bought bars may be convenient, but they come with compromises: more sugar, less fiber, and fillers that don’t add nutrition. Making them yourself means you control the ingredients and can adjust the flavor or sweetness to your liking.
If you want to keep things light but flavorful, you might also enjoy my healthy pumpkin truffles recipe for a quick, no-bake treat. For a cozy alternative, cottage cheese banana bread offers that same wholesome vibe in loaf form. Both highlight what homemade snacking does best, simple ingredients, full flavor, and food that actually fuels you.
Peanut butter granola bars prove that homemade snacks can be just as grab-and-go as store-bought ones, but with far more flavor, nutrition, and heart.
Ingredients & Variations for Peanut Butter Granola Bars
Core ingredients for perfect peanut butter granola bars
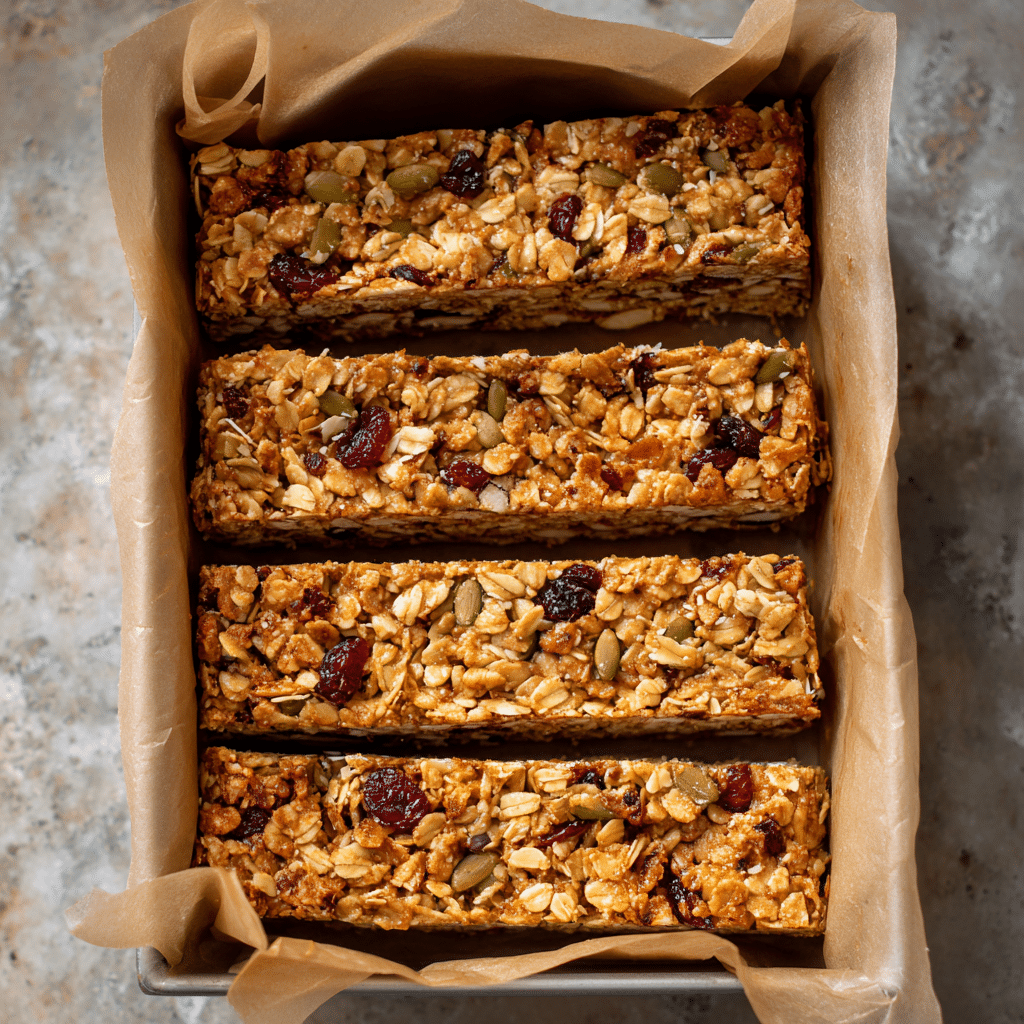
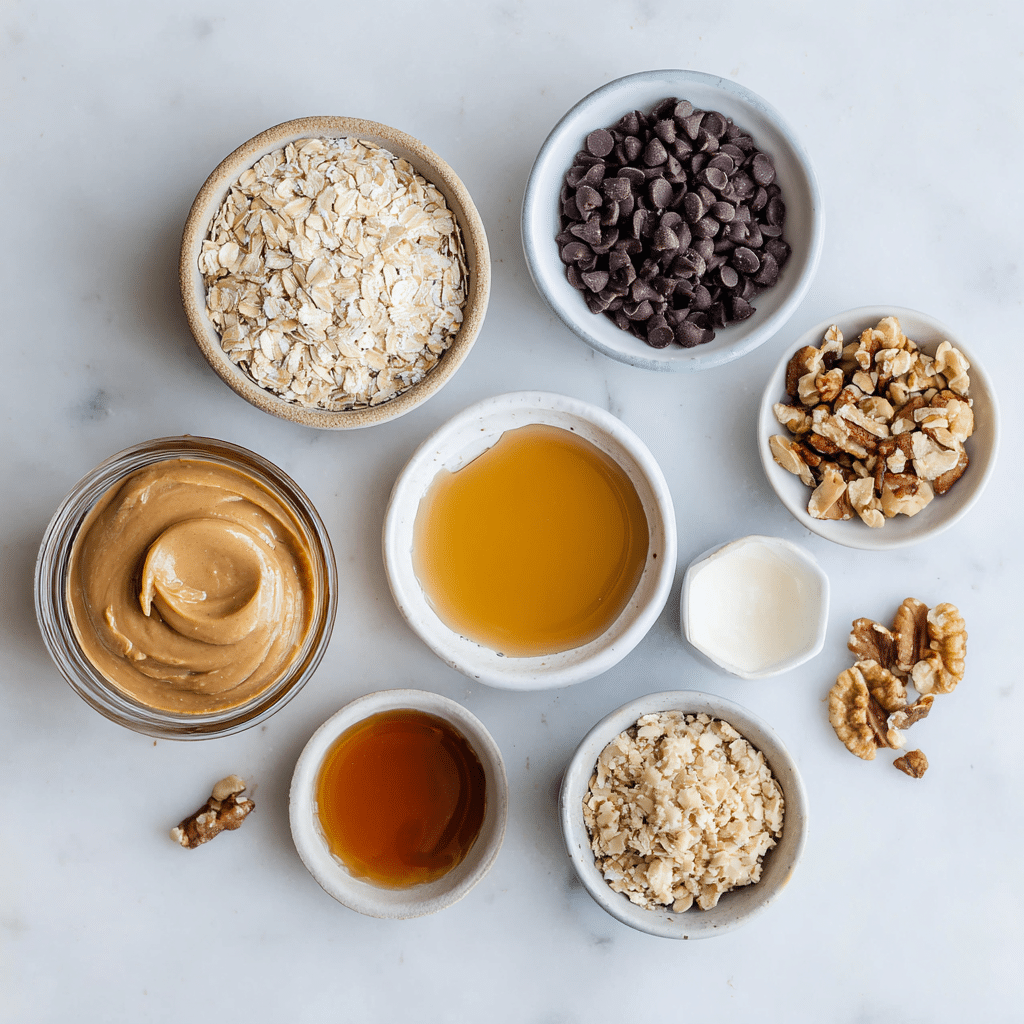
At their heart, peanut butter granola bars need only a handful of pantry staples. Rolled oats create structure, peanut butter gives creaminess and flavor, and honey or maple syrup binds everything together. A pinch of salt sharpens the sweetness, while a splash of vanilla adds warmth. If you want them extra chewy, adding a beaten egg or flax egg helps hold the mixture firmly once baked.
Here’s the simple core:
- Old-fashioned oats (chewy texture)
- Natural peanut butter (creamy or chunky works)
- Honey or maple syrup (binding + sweetness)
- Vanilla extract (flavor depth)
- Pinch of salt (balance)
Optional extras like chocolate chips, nuts, or shredded coconut turn these from everyday bars into dessert-like snacks.
Creative mix-ins and flavor twists
Just like Strawberry Granola Bars, Homemade peanut butter granola bars are endlessly customizable. You can swap peanut butter for almond butter or sunflower seed butter if nut-free. Mix-ins like dried cranberries, raisins, or chopped apricots add natural sweetness. Seeds such as chia, pumpkin, or sunflower give crunch and boost nutrition. A sprinkle of cinnamon or cocoa powder changes the flavor profile without complicating the recipe.
Here’s a quick table for inspiration:
| Mix-In | Flavor Boost |
|---|---|
| Dried cherries | Tart + chewy |
| Pumpkin seeds | Nutty crunch |
| Coconut flakes | Tropical sweetness |
If you enjoy nut-based desserts, my gluten free pistachio cake is a lovely alternative for gatherings. For another handheld snack, matcha white chocolate muffins give a soft, sweet balance that pairs well with peanut butter bars on a brunch table.
Homemade granola bars are more than a snack, they’re a canvas for creativity, letting you tailor flavor and nutrition to your lifestyle.
Simple ingredients for peanut butter granola bars.
How to Make Peanut Butter Granola Bars
Step-by-step process for foolproof bars
Making peanut butter granola bars is all about layering wet and dry ingredients in the right way. Start by warming the peanut butter and honey (or maple syrup) until smooth, this helps them blend more easily with the oats. Stir in the vanilla and a pinch of salt. In another bowl, measure your oats and any dry mix-ins like seeds or dried fruit.
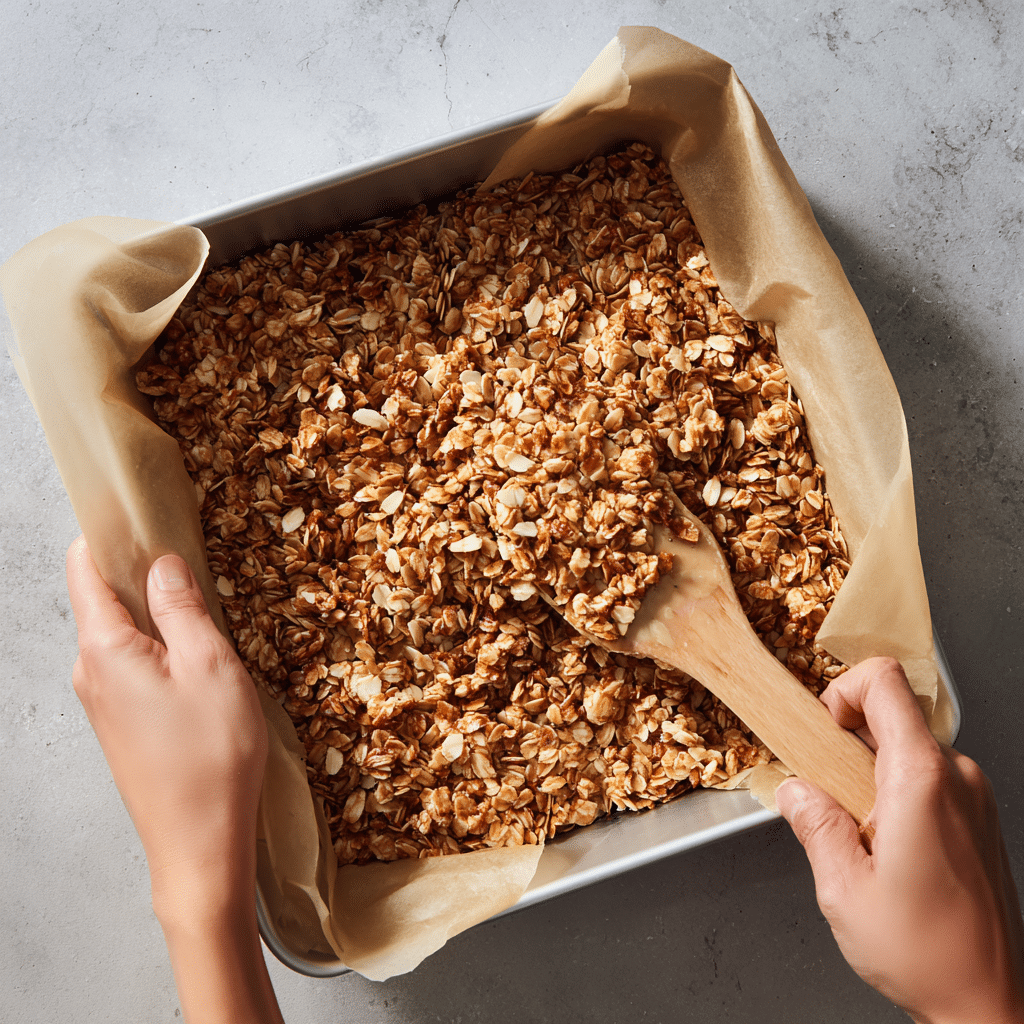
Pour the wet mixture over the dry and stir until every oat is coated. Transfer to a parchment-lined pan and press the mixture firmly with the back of a spoon or a flat spatula. The pressing step is key, as it ensures the bars hold together once cooled. Bake for 15–20 minutes at 350°F, or if you prefer a no-bake version, chill them for at least two hours before slicing.
Once cooled, lift the mixture out by the parchment, slice into bars, and enjoy.
Tips to avoid common mistakes
- Bars falling apart? Press the mixture down more firmly and chill longer before slicing.
- Too dry? Add a little more honey or peanut butter to bind the oats.
- Too sticky? Reduce the sweetener slightly or bake instead of chilling.
- Uneven texture? Chop larger mix-ins like nuts or dried fruit for more uniform bars.
If you like experimenting, try my ube cupcakes for a colorful baking project, or my pumpkin cream cheese bread for a cozy, spiced loaf that pairs perfectly with a snack bar and coffee.
Peanut butter granola bars aren’t just easy to make, they’re a forgiving recipe that rewards small tweaks and personal touches. Once you’ve nailed the basics, you’ll never need store-bought again.
Storing & Serving Peanut Butter Granola Bars
How to store peanut butter granola bars for freshness
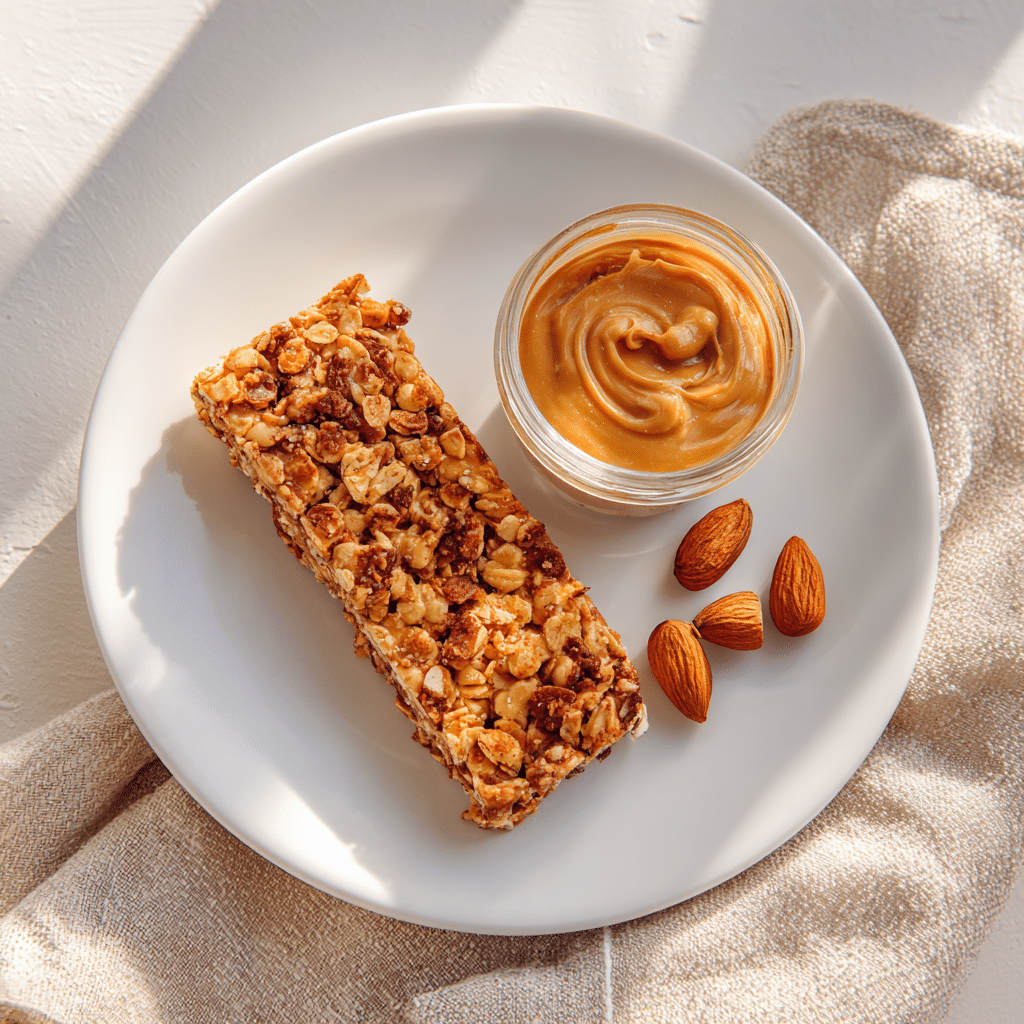
Homemade peanut butter granola bars last longer than you might expect if stored properly. Keep them in an airtight container at room temperature for up to a week. For longer storage, place parchment paper between layers and refrigerate for 10–12 days. If you like to batch prep, wrap bars individually and freeze for up to three months. When ready to enjoy, thaw at room temperature for 30 minutes or pop them in a lunchbox straight from the freezer.
The texture actually improves after a day, as the oats absorb the flavors and soften, making them even chewier.
Best ways to serve and enjoy
Peanut butter granola bars are versatile, a grab-and-go breakfast, an after-school snack, or a quick bite before the gym. Pair one with Greek yogurt and fruit for a more filling morning meal, or enjoy alongside a hot coffee for an afternoon recharge. Kids love them in lunchboxes, and adults appreciate them as a balanced treat between meetings.
For variety, you could serve them next to my pumpkin pie dip at fall gatherings, or bake a flourless chocolate cake with cottage cheese for dessert while keeping bars on hand for everyday snacking. Together, they show how homemade recipes can be both practical and indulgent.
Homemade peanut butter granola bars prove that snacks don’t need to be processed to be portable and satisfying. With the right storage and serving ideas, they’ll always be ready when you need a nourishing bite.
Frequently Asked Questions About Peanut Butter Granola Bars
What can I use instead of peanut butter in granola bars?
Almond butter, cashew butter, or sunflower seed butter all work well. Each gives a slightly different flavor but still provides the creaminess and binding you need.
Are peanut butter granola bars healthy?
Yes, when made at home. They’re full of oats for fiber, peanut butter for protein and healthy fats, and natural sweeteners like honey or maple syrup. Compared to store-bought, they have fewer additives and preservatives.
Can I make them vegan?
Absolutely. Use maple syrup instead of honey, and replace eggs with flax eggs or skip them if you prefer a no-bake version. Vegan chocolate chips or dried fruit make great add-ins.
How do I keep granola bars from falling apart?
The key is pressing the mixture firmly into the pan and letting it chill completely before slicing. If they’re still too crumbly, add an extra spoonful of honey or peanut butter to strengthen the binding.
Conclusion
Peanut butter granola bars are proof that simple ingredients can create something both nourishing and satisfying. They transform the classic lunchbox snack into a homemade staple that’s chewy, flavorful, and endlessly customizable. With oats, peanut butter, and a natural sweetener as your base, you can add in any flavors you love and still end up with a bar that holds together beautifully.
Whether you’re looking for a quick breakfast, a portable snack, or a healthier swap for packaged treats, these bars deliver. Once you’ve made them yourself, store-bought will never taste the same again.
I share more recipes like these over on Facebook, come hang out in my baking corner.
Print
Peanut Butter Granola Bars
- Total Time: 30 minutes
- Yield: 16 bars 1x
- Diet: Gluten Free
Description
Chewy, wholesome peanut butter granola bars made with oats, honey, and simple pantry staples. Perfect for snacks, breakfasts, or lunchboxes.
Ingredients
2 cups old-fashioned oats
1 cup natural peanut butter
1/2 cup honey or maple syrup
1/2 tsp salt
1 tsp vanilla extract
Optional: 1/2 cup chocolate chips, dried fruit, or seeds
Instructions
1. Warm peanut butter and honey together until smooth.
2. Stir in vanilla and salt.
3. In a large bowl, mix oats with any optional add-ins.
4. Pour wet mixture over dry ingredients and stir until coated.
5. Transfer to a parchment-lined pan and press mixture firmly.
6. Bake at 350°F for 15–20 minutes or chill 2 hours for no-bake.
7. Cool completely, lift out by parchment, and slice into bars.
Notes
- Store in airtight container for up to 7 days.
- Freeze individually wrapped bars for up to 3 months.
- Nut-free option: use sunflower seed butter.
- Prep Time: 10 minutes
- Cook Time: 20 minutes
- Category: Snack
- Method: Baking
- Cuisine: American
Nutrition
- Serving Size: 1 bar
- Calories: 210
- Sugar: 12g
- Sodium: 140mg
- Fat: 10g
- Saturated Fat: 3g
- Unsaturated Fat: 6g
- Trans Fat: 0g
- Carbohydrates: 25g
- Fiber: 3g
- Protein: 6g
- Cholesterol: 0mg

