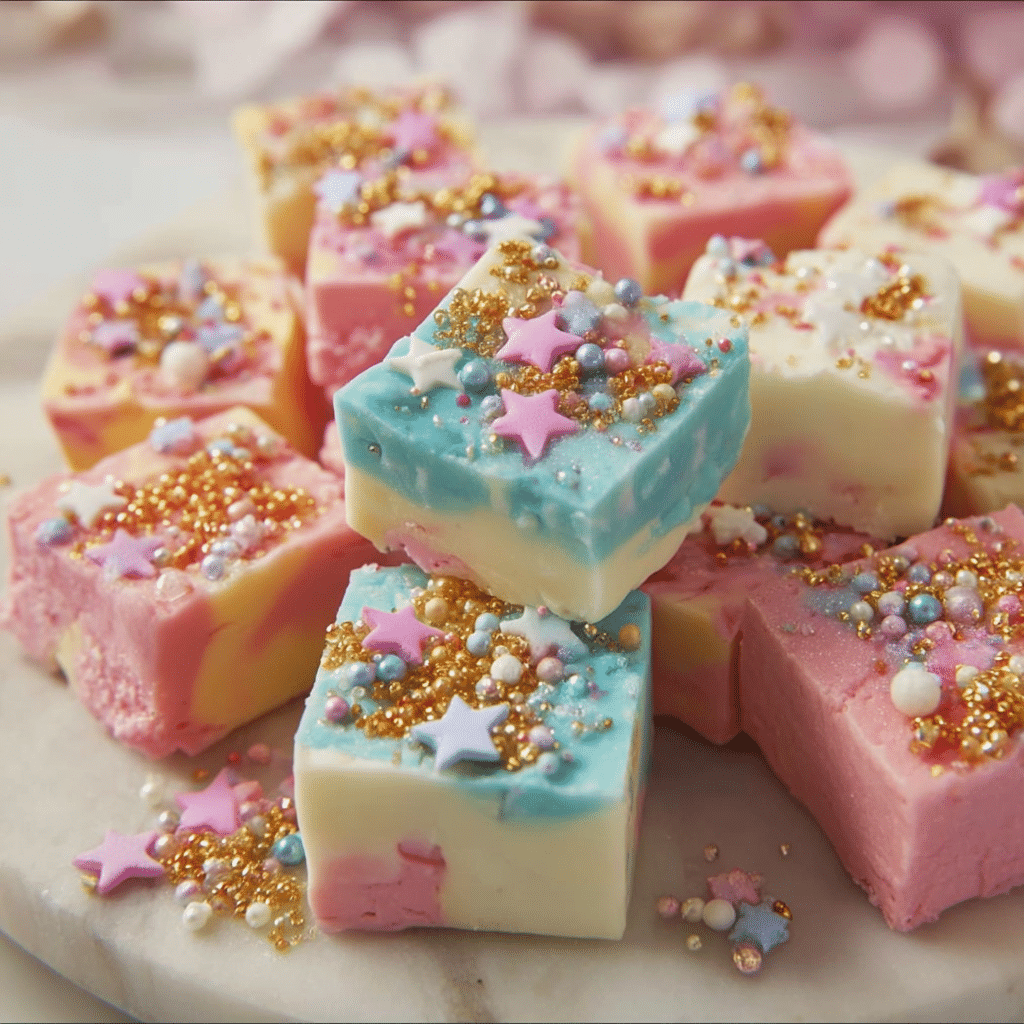
Hey there, dessert lover! If you’re like me, you know that there’s something truly special about whipping up a fun and colorful treat. Today, we’re diving into the magical world of No Bake Unicorn Fudge. Imagine creamy, dreamy fudge that bursts with color and sweetness, perfect for celebrations or just a cozy night in. In my little baking sanctuary, there’s nothing like creating treats that not only taste amazing but also bring a smile to your face. So, roll up your sleeves, and let’s get started on this delightful adventure!
Why Make This Recipe
You might be wondering: why bother making Unicorn Fudge? Well, my friend, let me tell you! This recipe is the epitome of joy and creativity. It’s a no-bake wonder, which means you won’t need to turn on your oven at all! Perfect for those hot summer days or when you simply want a stress-free baking session. The vibrant colors and fun presentation will impress your family and friends, no matter the occasion. Plus, the taste? Oh, it’s a candy lover’s dream! Soft, rich, and just sweet enough to satisfy your cravings without overwhelming your taste buds.
This fudge is not just a treat; it’s an experience. With its playful colors and delicious flavor, it’s great for parties, holidays, or even just as a personal reward after a long day. Trust me, once you make this fudge, you’ll be known as the designated dessert maker among your friends. And who wouldn’t want that title?
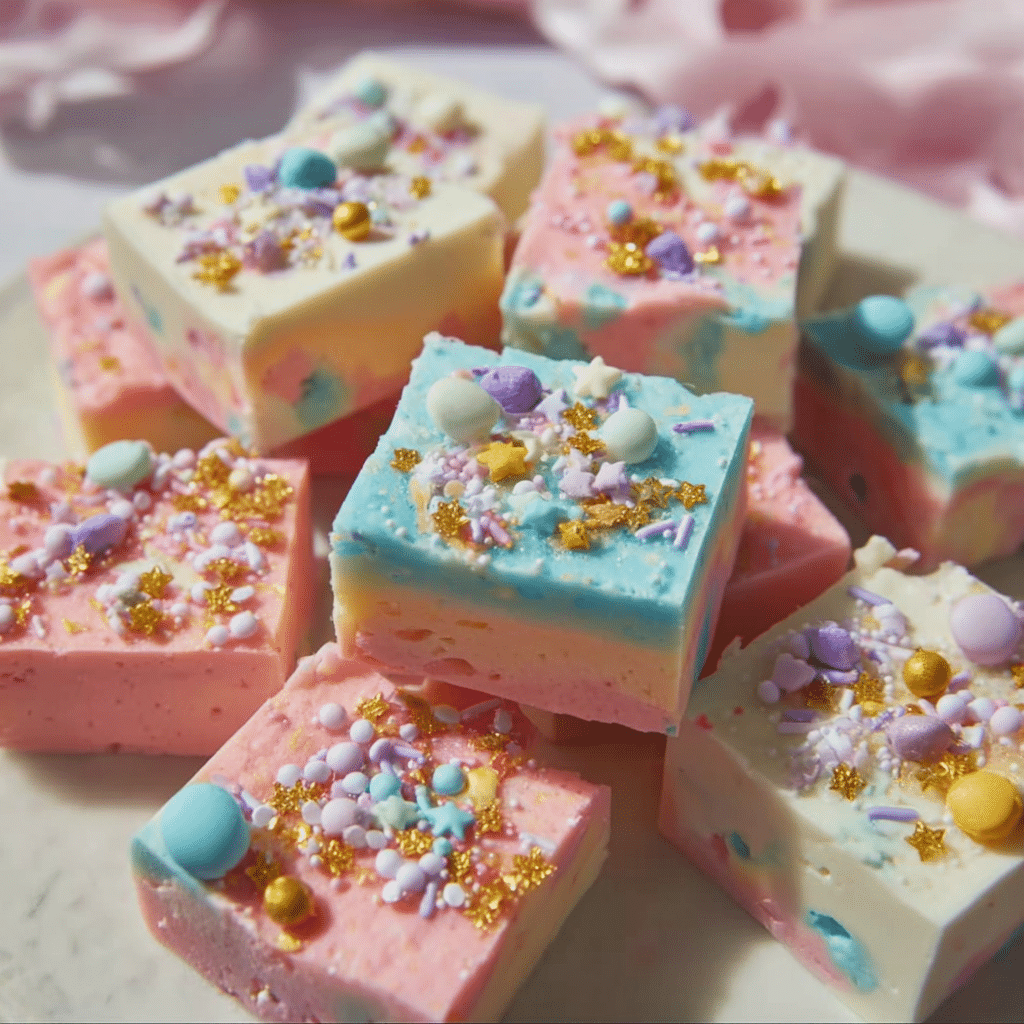
How to Make No Bake Unicorn Fudge
Now let’s roll up our sleeves and jump into the fun part, making the fudge! Don’t worry if you’ve never made fudge before; this recipe is super easy and forgiving. With just a handful of ingredients and some cheerful creativity, you will have a colorful treat that’s sure to impress.
Ingredients
Here’s what you will need to whip up your No Bake Unicorn Fudge:
- 800 g Icing Sugar
- 10 tbsp Condensed Milk
- 1 tsp Vanilla Extract
- Food Colouring (I used red, blue, and green)
- 100 g Softened Butter
Directions
Cream Together the Base: Begin by creaming the softened butter, condensed milk, and vanilla extract together in a mixing bowl. Use an electric mixer for this step, it makes it much quicker and easier!
Add the Icing Sugar: Gradually add in the icing sugar. As it starts to blend, you’ll notice the mixture taking shape. If you’re using your hands, prepare for a fun but slightly messy experience!
Knead the Mixture: Once it resembles breadcrumbs, get in there with your hands and start pulling it all together into a ball. It’s like a magical transformation!
Divide and Color: Split your mixture into three even balls. Now comes the fun part, add a few drops of food coloring to each one. I went with red, blue, and green. Knead each ball to evenly distribute the color, watch the transformation happen!
Assemble the Fudge: Grab a small (18cm x 30cm) silicone baking tray. Take pieces of each colored ball and dot them randomly in the tray. Use your hands to squish them down and fill in any gaps. Make sure it all sticks together, creating a beautiful rainbow of colors!
Sprinkle and Set: Now for a little extra magic, add sprinkles on top! Pop it in the freezer for about an hour to set, or if you’re like me, you can’t wait and just set it in there.
Cut and Store: Once it’s set, cut it into squares or any shape your heart desires. Store it in the fridge until you’re ready to share your creation!
How to Serve No Bake Unicorn Fudge
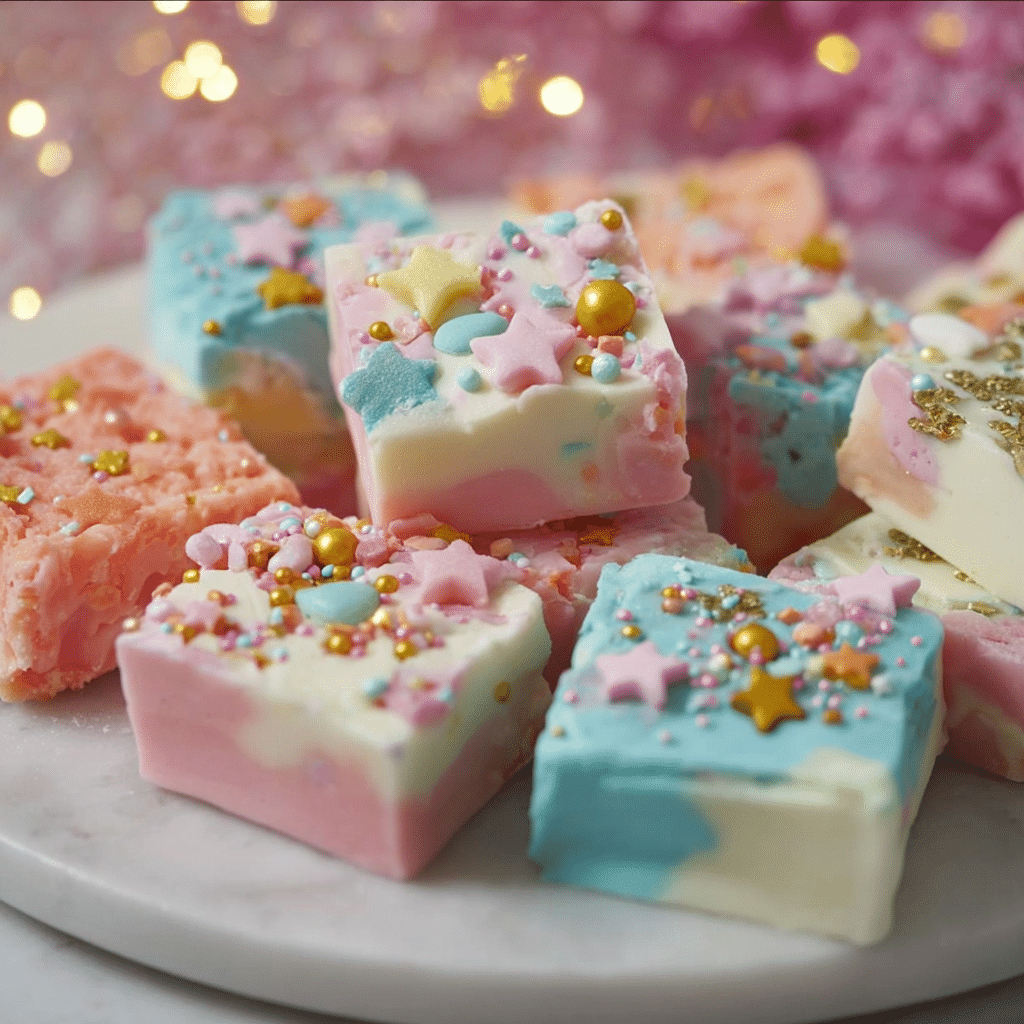
The beauty of this Unicorn Fudge is that it’s absolutely versatile! You can serve it straight from the fridge for a cool treat or set it on a colorful plate for a lively dessert table. Imagine it at a birthday party, on a picnic, or even as a movie night treat. The vibrant colors will catch everyone’s eye, and believe me, they won’t be able to resist snagging a piece! You can also pair it with a scoop of vanilla ice cream for that extra touch of indulgence.
How to Store No Bake Unicorn Fudge
Now, let’s talk storage. If you happen to have leftovers (although I can’t promise it will last long), keep it in an airtight container in the fridge. This fudge will last for about five days, if it makes it that long! After all, it’s such a treat; it will disappear faster than you think!
Tips to Make No Bake Unicorn Fudge
- Get Creative With Colors: Feel free to experiment with different food coloring to create your unique rainbow combinations! The more colorful, the better.
- Use High-Quality Ingredients: Since this fudge is so simple, the quality of your butter and vanilla extract can make a big difference in flavor.
- Add Flavors: Don’t hesitate to play with flavors! A hint of almond extract or a sprinkle of sea salt can elevate this fudge to the next level.
Variations
Want to switch things up? Consider adding in some extras like mini chocolate chips, crushed cookies, or even nuts for a fun crunch. You can also swap the food coloring for different themes; think pastels for Easter or vibrant colors for a summer party.
FAQs
1. Can I use different toppings on the fudge?
Absolutely! Get creative with toppings. You can use chopped nuts, coconut flakes, or different kinds of sprinkles. The sky’s the limit!
2. What if I don’t have a silicone tray?
No worries! You can use any shallow dish lined with parchment paper for easy removal once it’s set.
3. How long does it take to prepare?
Preparation takes about 20-30 minutes, plus an hour in the freezer. So, you’re looking at about an hour and a half from start to finish!
4. Can I double the recipe?
Yes, you can double the recipe! Just make sure you have a larger mixing bowl and a bigger tray for the fudge to set.
5. Is it possible to make a vegan version?
Definitely! Substitute the butter with a plant-based alternative and use coconut condensed milk for a delicious vegan treat.
So there you have it! A delightful journey into the colorful world of No Bake Unicorn Fudge. Whether you’re baking for a celebration or just for fun, this fudge is sure to bring joy to anyone who tries it. Happy baking, my friend!
Print
No Bake Unicorn Fudge
- Total Time: 90 minutes
- Yield: 16 servings 1x
- Diet: Vegetarian
Description
A colorful and delightful no-bake fudge that’s perfect for celebrations or treating yourself.
Ingredients
- 800g Icing Sugar
- 10 tbsp Condensed Milk
- 1 tsp Vanilla Extract
- Food Colouring (red, blue, and green)
- 100g Softened Butter
Instructions
- Cream together the softened butter, condensed milk, and vanilla extract in a mixing bowl using an electric mixer.
- Gradually add in the icing sugar until the mixture takes shape.
- Knead the mixture into a ball once it resembles breadcrumbs.
- Divide the mixture into three balls and add food coloring to each, kneading to distribute the color.
- In a silicone baking tray, dot pieces of the colored mixture randomly, pressing down to fill gaps.
- Sprinkle with toppings and set in the freezer for about an hour or until firm.
- Once set, cut into squares and store in the fridge until ready to serve.
Notes
Experiment with different colors and toppings for a unique twist. Use high-quality ingredients for the best flavor.
- Prep Time: 30 minutes
- Cook Time: 60 minutes
- Category: Dessert
- Method: No Bake
- Cuisine: American
Nutrition
- Serving Size: 1 piece
- Calories: 250
- Sugar: 18g
- Sodium: 50mg
- Fat: 8g
- Saturated Fat: 5g
- Unsaturated Fat: 3g
- Trans Fat: 0g
- Carbohydrates: 40g
- Fiber: 0g
- Protein: 2g
- Cholesterol: 15mg
