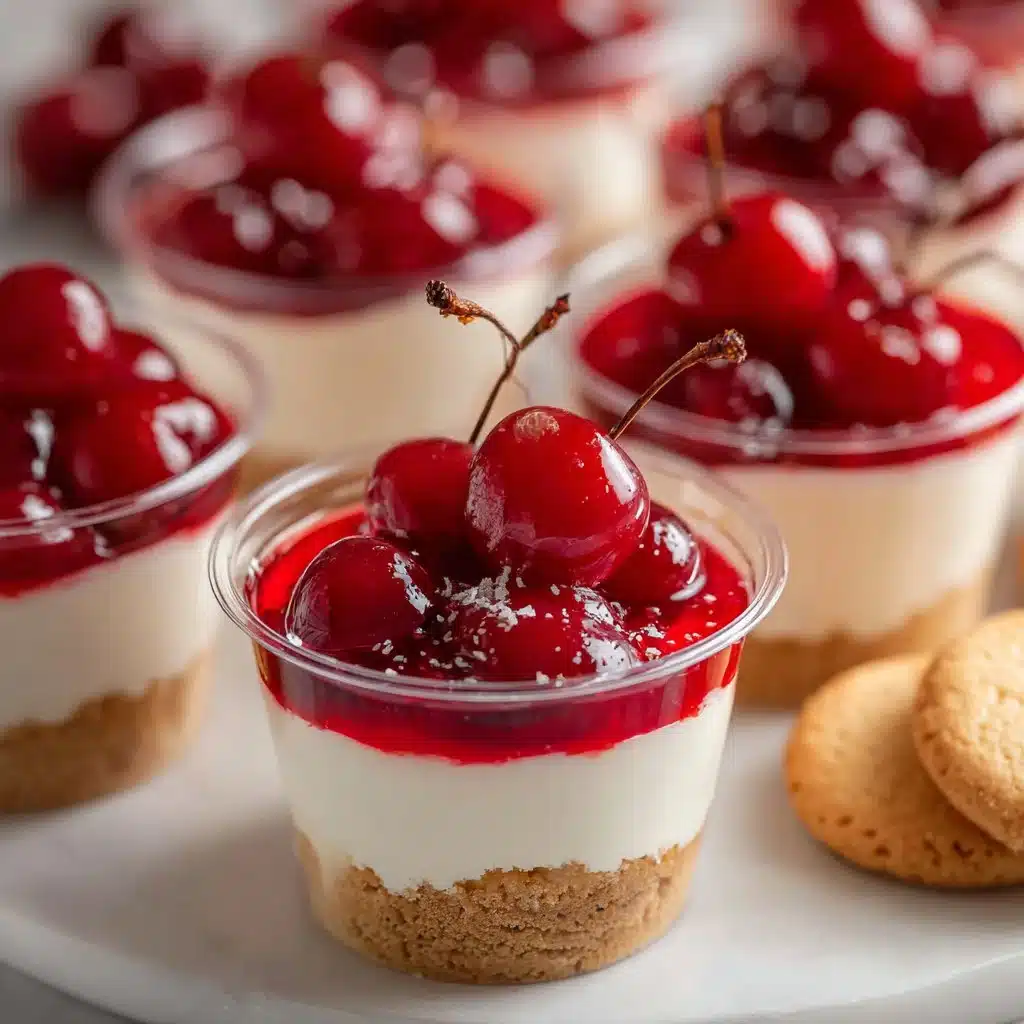
Hello, dessert lovers! If you’re in the mood for something sweet, creamy, and oh-so-easy to whip up, you’ve landed in the right spot. Today, we’re diving into the delightful world of No-Bake Cheesecake Cups. Trust me; these little cups of joy will have your friends and family raving about your baking skills, even though there’s no oven involved. Sounds like magic, right? Let’s get started on something that’ll feel like a warm hug in dessert form.
Why Make This Recipe
Why should you make No-Bake Cheesecake Cups? Well, first off, they are a breeze to prepare! There’s no baking involved, which means no worrying about oven temperatures or timings. Plus, this recipe is super versatile. Feel free to switch up toppings, use different flavors, or even make them gluten-free if that suits your style!
These cheesecake cups are perfect for any occasion. Whether you’re celebrating a birthday, hosting a dinner party, or just treating yourself after a long week, these sweet treats deliver. They’re incredibly charming and can be dressed up for fancy gatherings or keep it casual for a quiet night at home. Basically, they’re the star of the dessert table and will make you the MVP of your kitchen.
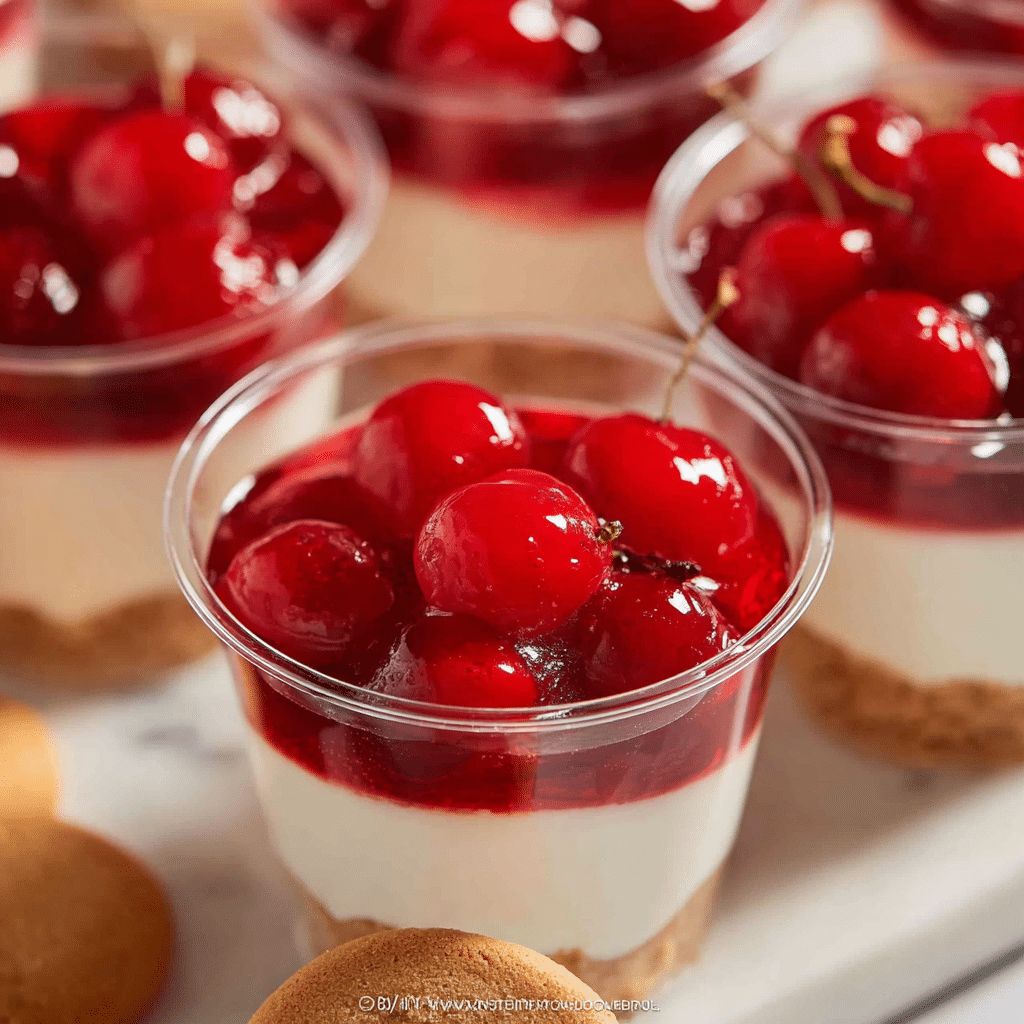
How To Make No-Bake Cheesecake Cups
Making No-Bake Cheesecake Cups is as simple as mixing a few ingredients together and layering them into cute cups. You’ll impress anyone who tastes them, and they’ll have no idea how easy they were to make. Ready to dive into the deliciousness? Let’s go!
Ingredients
- 8 oz cream cheese, softened
- 1/2 cup powdered sugar
- 1 tsp vanilla extract
- 1 cup heavy whipping cream
- Graham cracker crumbs
- Toppings (like cherry pie filling, blueberry pie filling, chocolate sauce, or caramel sauce)
Directions
- Mix the Cream Cheese: Start by grabbing a mixing bowl. Beat the softened cream cheese with the powdered sugar and vanilla extract. Keep mixing until it’s smooth and creamy. You want it to be super luscious because this is the base of your cheesecake goodness!
- Whip the Cream: In another bowl, whip the heavy cream until you see stiff peaks form. This part is fun, channel your inner baker and whip like there’s no tomorrow!
- Combine: Gently fold the whipped cream into the cream cheese mixture. Easy does it! You want to keep all that light, fluffy air in there, that’s what’ll give your cheesecake cups that cloud-like texture.
- Layer It Up: Grab your serving cups (cute glasses or jars work great) and start layering! Place a layer of graham cracker crumbs at the bottom, then spoon in a layer of the cheesecake mixture. Repeat the layers until you run out of space, finishing with a layer of cheesecake on top.
- Dress It Up: Now comes the best part, toppings! Sprinkle your favorite toppings on top. You can use cherry pie filling, blueberry pie filling, drizzle some chocolate syrup, or go wild with caramel sauce. The options are endless!
- Chill: Place your cheesecake cups in the fridge and let them chill for at least an hour. This will let all those amazing flavors mingle and develop. Plus, every bite will be refreshingly cool!
- Serve and Enjoy: When you’re ready, serve your No-Bake Cheesecake Cups to your friends, family, or just yourself, you deserve it!
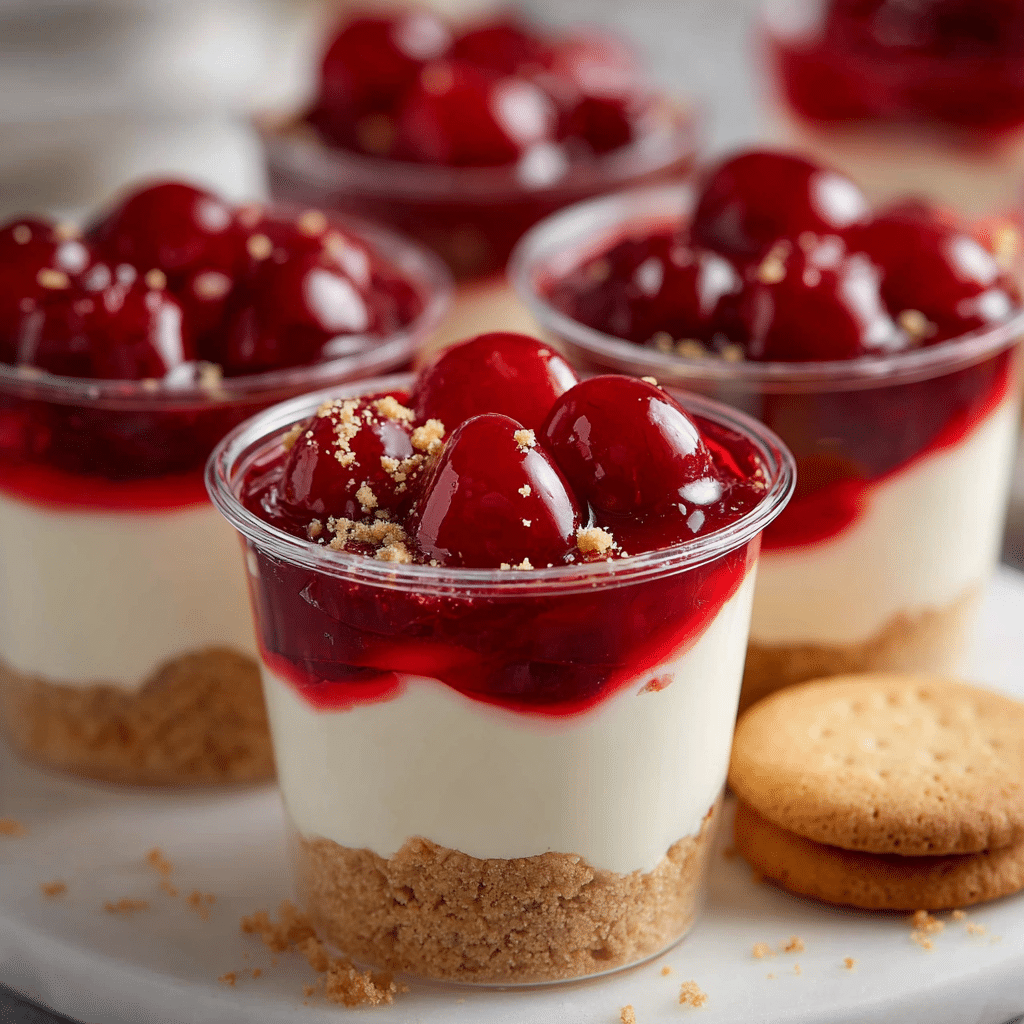
How to Serve No-Bake Cheesecake Cups
Serving these delightful cheesecake cups is easy and adds to their charm. You can place them right on the table, and let everyone dig in. If you like a more polished look for a gathering, consider garnishing each cup with an extra dollop of whipped cream and maybe a little sprinkle of graham cracker crumbs or a fresh berry.
For a more personal touch, you can also label each cup with a fun name or flavor if you’re offering different variations. This little detail can be a sweet surprise for your guests and adds a playful touch to your dessert table.
How to Store No-Bake Cheesecake Cups
Got leftovers? Lucky you! No-Bake Cheesecake Cups can be stored in the fridge for up to three days. Just make sure to cover them with plastic wrap or place them in an airtight container to keep them fresh. They might even taste better the next day as all the flavors have more time to meld together!
Avoid freezing them, as the texture might change once thawed. These sweet treats are best enjoyed chilled and fresh from the fridge.
Tips to Make No-Bake Cheesecake Cups
- Soften Your Ingredients: Make sure your cream cheese is softened to room temperature. This prevents lumps and ensures a smooth, creamy texture.
- Whip It Good: When whipping the cream, be careful not to overwhip. You want stiff peaks, but if you whip too long, it can turn into butter!
- Graham Cracker Alternatives: If you’re looking for a gluten-free option, there are gluten-free graham cracker crumbs available. Alternatively, you can use crushed nuts or almond flour for a different take.
- Get Creative with Toppings: Mix and match toppings! Try fresh fruit, chocolate chips, chopped nuts, or even a drizzle of peanut butter for a fun twist.
Variation
Feeling adventurous? You can easily switch up the flavor profile of your No-Bake Cheesecake Cups. Try adding lemon zest to the cream cheese mixture for a refreshing lemon cheesecake flavor. Or, for chocolate lovers, why not mix in some cocoa powder or melted chocolate? The possibilities are endless!
FAQs
Can I use low-fat cream cheese for this recipe?
Yes, but keep in mind that the texture may be different, and it might not be as creamy as the regular version. For best results, full-fat cream cheese is recommended.
How long do these cheesecake cups need to chill?
It’s best to let them chill for at least an hour, but you can make them up to a day in advance. Just allow enough time for flavors to blend and firm up!
Can I freeze No-Bake Cheesecake Cups?
While it’s not recommended to freeze them, if you need to, you can freeze the filling separately and then layer it fresh once you thaw it in the fridge. However, the texture may change when thawed.
There you have it! Your guide to No-Bake Cheesecake Cups, a dessert that’s as easy to make as it is delicious to eat. Now, it’s time to make some lovely memories, one cheesecake cup at a time. Enjoy!
Print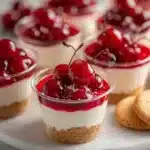
No-Bake Cheesecake Cups
- Total Time: 75 minutes
- Yield: 4 servings 1x
- Diet: Vegetarian
Description
Delightful and creamy No-Bake Cheesecake Cups that are easy to whip up and perfect for any occasion.
Ingredients
- 8 oz cream cheese, softened
- 1/2 cup powdered sugar
- 1 tsp vanilla extract
- 1 cup heavy whipping cream
- Graham cracker crumbs
- Toppings (e.g., cherry pie filling, blueberry pie filling, chocolate sauce, caramel sauce)
Instructions
- Beat the softened cream cheese with the powdered sugar and vanilla extract until smooth and creamy.
- In another bowl, whip the heavy cream until stiff peaks form.
- Gently fold the whipped cream into the cream cheese mixture.
- Layer graham cracker crumbs and cheesecake mixture in serving cups until full, finishing with cheesecake on top.
- Add your favorite toppings on top of each cup.
- Chill in the fridge for at least an hour before serving.
Notes
Store leftovers in the fridge for up to 3 days. They may taste better the next day as flavors meld.
- Prep Time: 15 minutes
- Cook Time: 0 minutes
- Category: Dessert
- Method: No-Bake
- Cuisine: American
Nutrition
- Serving Size: 1 cup
- Calories: 300
- Sugar: 20g
- Sodium: 150mg
- Fat: 22g
- Saturated Fat: 12g
- Unsaturated Fat: 8g
- Trans Fat: 0g
- Carbohydrates: 30g
- Fiber: 0g
- Protein: 5g
- Cholesterol: 60mg
