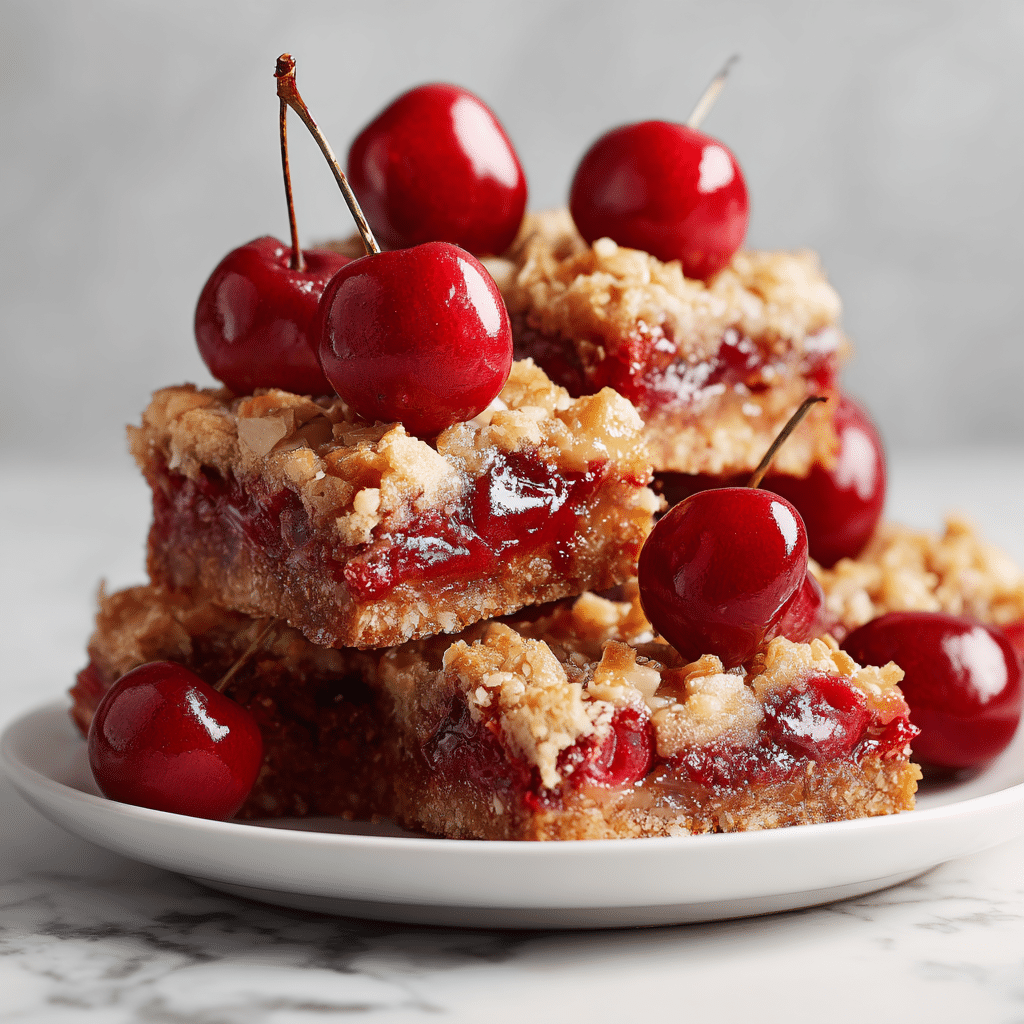
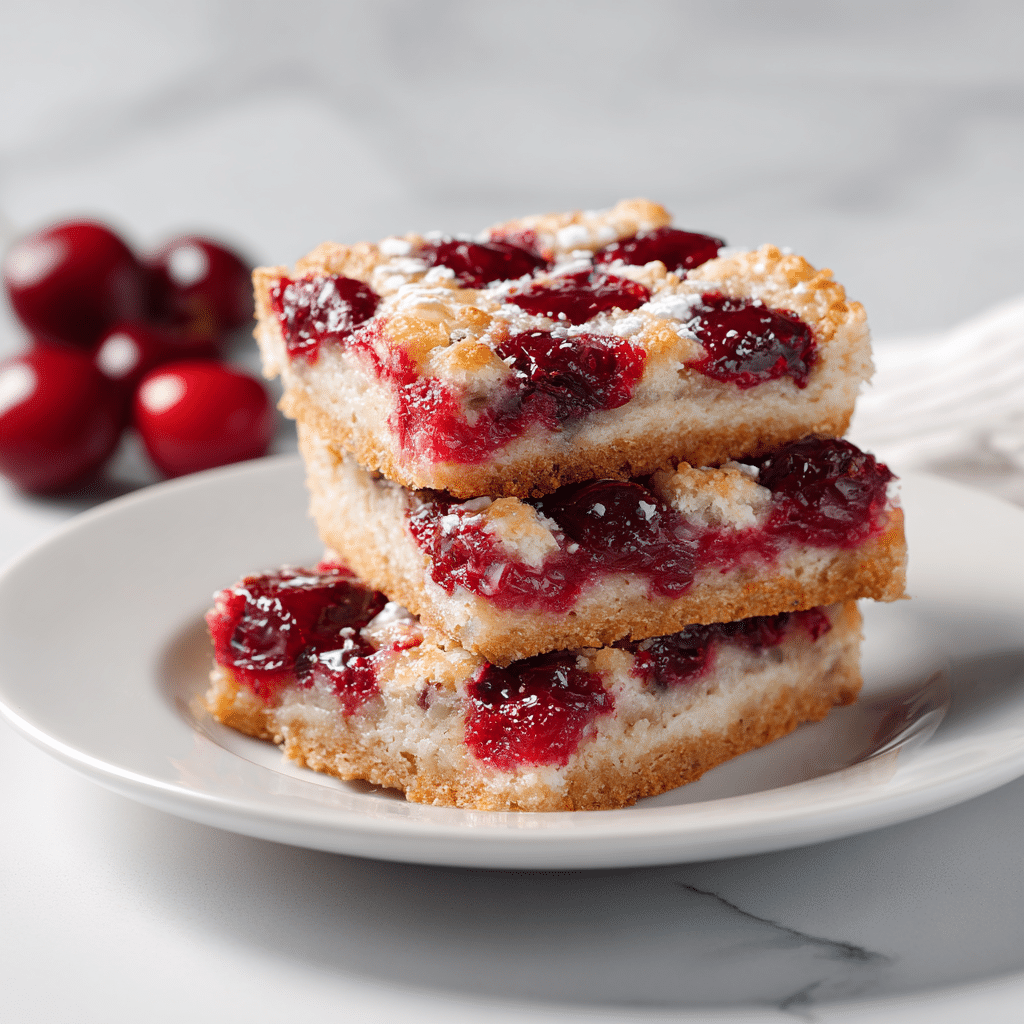
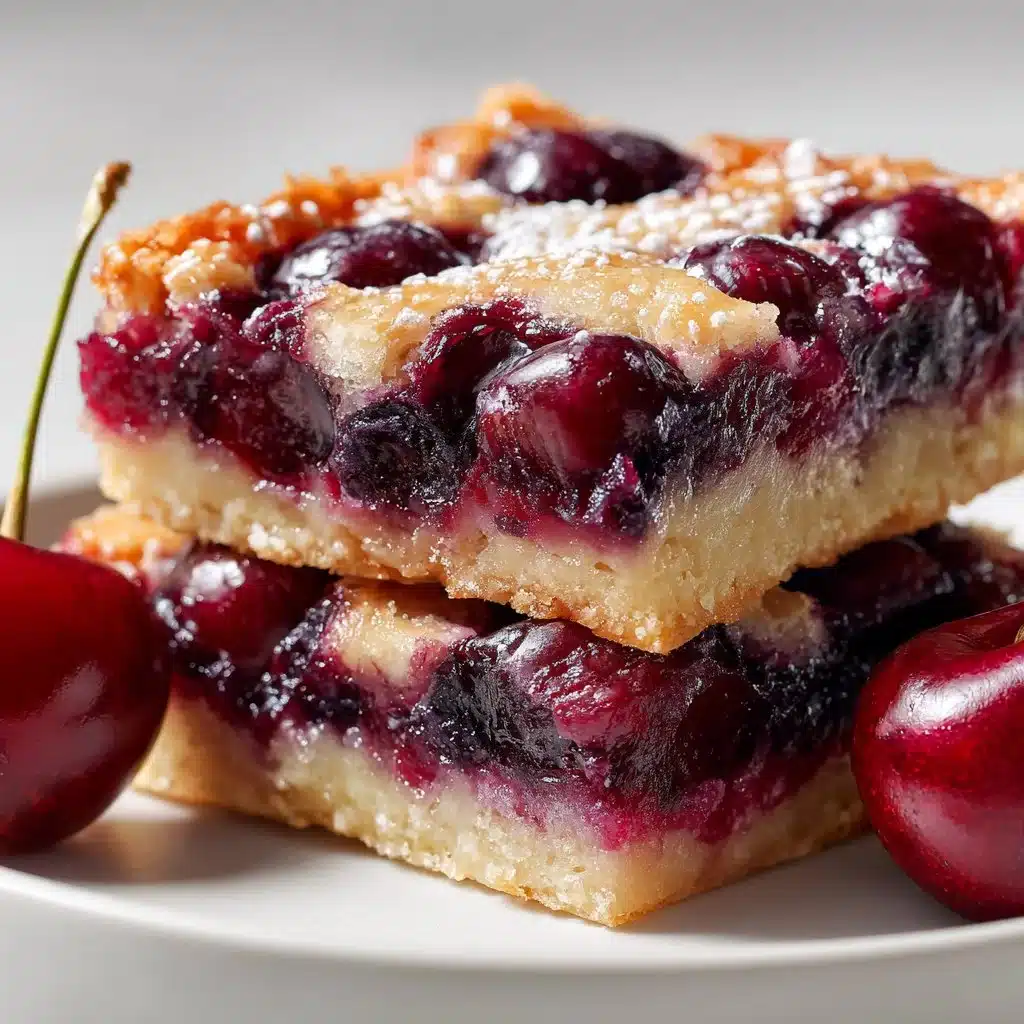
Hey there, baking buddy! If you’re searching for something sweet, tangy, and utterly delightful, you’ve come to the right place. Today, we’re diving into the delightful world of Cherry Bars! These treats are perfect for any occasion, whether you want a comforting dessert after dinner, a snack for afternoon tea, or a sweet treat for gatherings. Trust me, once you get a whiff of those juicy cherries baking in the oven, you will feel an intense wave of happiness wash over you. So, roll up those sleeves and let’s get baking!
Why Make This Recipe
Cherry Bars are not just a dessert; they are a little taste of sunshine on your plate! Bursting with the vibrant flavor of cherries, these bars are incredibly versatile and easy to make. They’re perfect for any season. In summer, you can use fresh cherries, while in winter, you can switch to frozen ones. Plus, they are easy to cut into squares, making them a fantastic option for potlucks, picnics, or even just a cozy movie night at home.
The best part? This recipe doesn’t require fancy techniques or special skills. It’s all about blending simple ingredients to create blissful bars that are bound to make your heart flutter with joy. So whether you’re a seasoned baker or someone who just wants to impress their friends, these Cherry Bars can make you shine in the kitchen!

How to Make Cherry Bars
Ready to whip up these scrumptious Cherry Bars? Grab your baking gear, and let’s get started!
Ingredients:
- 2 cups all-purpose flour
- 1 cup granulated sugar
- 1/2 teaspoon salt
- 1/2 teaspoon baking powder
- 1/2 cup unsalted butter, melted
- 2 large eggs
- 1 teaspoon vanilla extract
- 2 cups fresh or frozen cherries, pitted and halved
- Optional: powdered sugar for dusting
Directions:
Preheat the Oven: First things first, preheat your oven to 350°F (175°C). This ensures that your Cherry Bars bake evenly and beautifully.
Prepare the Pan: Grease a 9×13 inch baking pan with butter or non-stick spray. You can also line it with parchment paper for easy removal. Trust me; you’ll want to get every delicious crumb out!
Mix Dry Ingredients: In a large mixing bowl, whisk together the flour, sugar, salt, and baking powder. This creates a nice foundation for your bars.
Combine the Wet Ingredients: In a separate bowl, whisk together the melted butter, eggs, and vanilla extract until fully combined.
Combine Wet and Dry: Gradually pour the wet mixture into the dry mixture, stirring just until combined. You don’t want to overmix, just a gentle fold is more than enough.
Add Those Cherries: Carefully fold in the cherries, making sure they are evenly distributed. You can even save a few to sprinkle on top if you like!
Spread and Bake: Pour the batter into the prepared baking pan and spread it out evenly. Bake for about 30-35 minutes or until a toothpick inserted in the center comes out clean.
Cool and Serve: Once baked, take your Cherry Bars out of the oven and let them cool in the pan for about 10 minutes before transferring them to a wire rack. Once cooled, you can cut them into squares and dust with powdered sugar if desired.
How to Serve Cherry Bars
These Cherry Bars shine on their own, but if you’re looking to elevate them even further, consider serving them warm with a scoop of vanilla ice cream or a dollop of whipped cream. They also pair beautifully with a cup of coffee or a refreshing glass of iced tea. If you’re feeling fancy, feel free to drizzle some chocolate or caramel sauce on top.

How to Store Cherry Bars
Cherry Bars can be stored at room temperature in an airtight container for up to 3 days. If you want to keep them longer, store them in the refrigerator, where they’ll last for up to a week. You can also freeze them for up to 3 months. Just wrap them tightly in plastic wrap and aluminum foil to keep them fresh. When you’re ready to indulge, simply let them thaw at room temperature or warm them briefly in the microwave.
Tips to Make Cherry Bars
Fresh vs. Frozen Cherries: If using fresh cherries, make sure they are ripe for the best flavor. If using frozen, there’s no need to thaw them; just toss them directly into the batter.
Customize It: You can mix in some chopped nuts, like almonds or walnuts, for added texture. A sprinkle of almond extract can also complement the cherries beautifully.
Perfect Batching: If you’re making a large batch for a gathering, consider doubling the recipe and using two separate pans for easy transport!
Variation
Feel free to switch up this recipe by using different fruits. Blueberries, raspberries, or even peaches can make for scrumptious variations. You could also create a Cherry Almond Bar by adding sliced almonds or almond extract. The possibilities are endless!
FAQs
1. Can I use canned cherries for this recipe?
Yes, you can! Just make sure to drain them well and pat them dry to avoid excess moisture affecting the batter.
2. How do I know when the bars are done baking?
Insert a toothpick in the center; if it comes out clean or with a few crumbs, they are perfectly baked.
3. Can I make this gluten-free?
Absolutely! Just substitute the all-purpose flour with a gluten-free flour blend. Adjust the baking time if needed, as gluten-free flour may behave differently.
And there you have it! Your own delightful Cherry Bars to bake, share, or savor all by yourself. I can’t wait for you to feel the love radiating from the kitchen as you whip these up. So, grab those cherries, let’s create something beautiful, and remember: in the world of baking, there’s always room for sweetness. Happy baking, my friend! 🍒✨
Print
Cherry Bars Recipe
- Total Time: 50 minutes
- Yield: 12 servings 1x
- Diet: Vegetarian
Description
Delightful Cherry Bars that are sweet, tangy, and perfect for any occasion. Enjoy them warm or at room temperature, with or without a dusting of powdered sugar.
Ingredients
- 2 cups all-purpose flour
- 1 cup granulated sugar
- 1/2 teaspoon salt
- 1/2 teaspoon baking powder
- 1/2 cup unsalted butter, melted
- 2 large eggs
- 1 teaspoon vanilla extract
- 2 cups fresh or frozen cherries, pitted and halved
- Optional: powdered sugar for dusting
Instructions
- Preheat your oven to 350°F (175°C).
- Grease a 9×13 inch baking pan with butter or non-stick spray.
- In a large mixing bowl, whisk together the flour, sugar, salt, and baking powder.
- In a separate bowl, whisk together the melted butter, eggs, and vanilla extract.
- Gradually pour the wet mixture into the dry mixture, stirring just until combined.
- Carefully fold in the cherries.
- Pour the batter into the prepared baking pan and spread it out evenly.
- Bake for about 30-35 minutes or until a toothpick inserted in the center comes out clean.
- Once baked, let cool in the pan for about 10 minutes before transferring to a wire rack.
- Cut into squares and dust with powdered sugar if desired.
Notes
Store in an airtight container for up to 3 days or in the refrigerator for up to a week. They can also be frozen for up to 3 months.
- Prep Time: 15 minutes
- Cook Time: 35 minutes
- Category: Dessert
- Method: Baking
- Cuisine: American
Nutrition
- Serving Size: 1 square
- Calories: 220
- Sugar: 10g
- Sodium: 150mg
- Fat: 8g
- Saturated Fat: 5g
- Unsaturated Fat: 2g
- Trans Fat: 0g
- Carbohydrates: 34g
- Fiber: 1g
- Protein: 3g
- Cholesterol: 30mg

